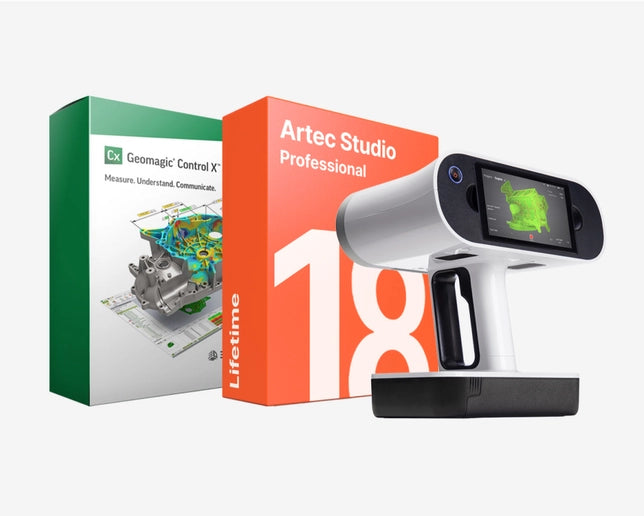

Professional-grade inspection at your fingertips
Streamline 3D scan data capture and processing with the industrial Control X quality control and dimensional inspection software. Measure with Artec 3D scanning before analyzing and sharing results with greater automation, assurance, and freedom to ensure quality anywhere – whether it be avoiding design flaws or improving factory efficiency.
Design for manufacturing
Use Control X to assess prototypes and address the issues that make parts difficult to manufacture such as deformation after molding or casting.
Faster product iteration
Reduce costly scrap waste caused by constantly having to rework parts, and reach your final design more quickly, with Control X deviation analysis and dimensioning tools.
Automate damage analysis
Scanning can reveal wear or deformation in unexpected places. Locate and scrutinize part damage with ease using an advanced, automated alignment and deviation analysis toolset.
Tackle design puzzles
Go beyond simple alignment and color mapping – Control X has all the tools needed to meet demanding quality control applications and solve the most complex metrology challenges.
Don’t just find issues, fix them
Many inspection programs can identify deviations. But Control X’s unique Design X and CAD integration allows users to directly update models to compensate for problems.
Predict part failure
Monitor geometry changes over time to take corrective action as issues arise. With Control X trend analysis and reporting, you can even predict when a part or tool is likely to fail.
Avoid workflow bottlenecks
Control X is so intuitive, you don’t have to be a highly trained or experienced metrologist to use it. Along with the accessibility and portability of Artec 3D scanning, this allows more people in your organization to start accelerating part inspection.
Get production going again
Struggling to manufacture certain parts? Use Artec 3D scanning to take a closer look, then carry out Control X analyses to understand how to get production back on track.
Embrace digital inspection
Create a complete digital record of a part’s geometry so you can perform further analysis when it’s no longer present. Discover an issue six months from now? Just pull up the scan and check any dimension – no need for remeasuring.
Scan, process, inspect & share in four easy steps
Why use Control X with Artec scanners?
Quick and easy to use
With fast, agile Artec 3D scanning, you can precisely capture the most complex parts up to seven times quicker than with CMM machines. Then upload to Control X and get quality results with little training using an intuitive UI and scan-native algorithms.
Inspect for 80% less
Feed high-quality Artec 3D scans into Control X and benefit from reported cost reductions of up to 80%, due to time and labor savings gained from automating data processing.
Digitize your inventory
Make future inspections faster and more regular by 3D scanning products and turning them into digital design files that can be analyzed and modified at a moment’s notice.
Contact-free inspection
Don’t risk damage, switch from probe-based CMM and target-dependent scans to Artec 3D scanning and Control X analysis, for contactless inspection that won’t mark products.
Streamline your analysis
Quickly create realistic, accurate 3D replicas of physical objects and compare these to original CAD designs in fine detail, via a single, streamlined Artec-Geomagic workflow.
An all-in-one solution
No need to pay for CAD importers, airfoil analysis tools, or mesh editing extras, send scans to Control X and you’ll have everything needed to carry out industrial-grade inspection.
Artec Studio integration
Take advantage of unique Control X macros and complete inspection tasks inside the same intuitive Artec Studio interface you use to process scan data.


