Designing custom mining solutions that exceed expectations with Artec Leo & Ray
Challenge: Developing mining solutions that seamlessly fit into existing infrastructure without having to make multiple visits to remote locations and spend hours taking manual measurements.
Solution: Artec Leo, Artec Ray, Artec Studio, Geomagic Design X, SOLIDWORKS
Result: The development of a ‘virtual test-fitting’ workflow that ensures industrial platforms, floors, piping, and other mining solutions fit into existing infrastructure prior to shipment. Switching to 3D scanning has cut data capture lead times by two-thirds and drastically reduced design errors due to fitment constraints.
Why Artec 3D?: Wireless, agile, and user-friendly, Artec Leo is ideal for accurate data capture from lifts or scaffolding. Artec Ray, on the other hand, is perfect for measuring large areas like mine shafts, while Artec Studio exports to Design X/SOLIDWORKS at the click of a button.
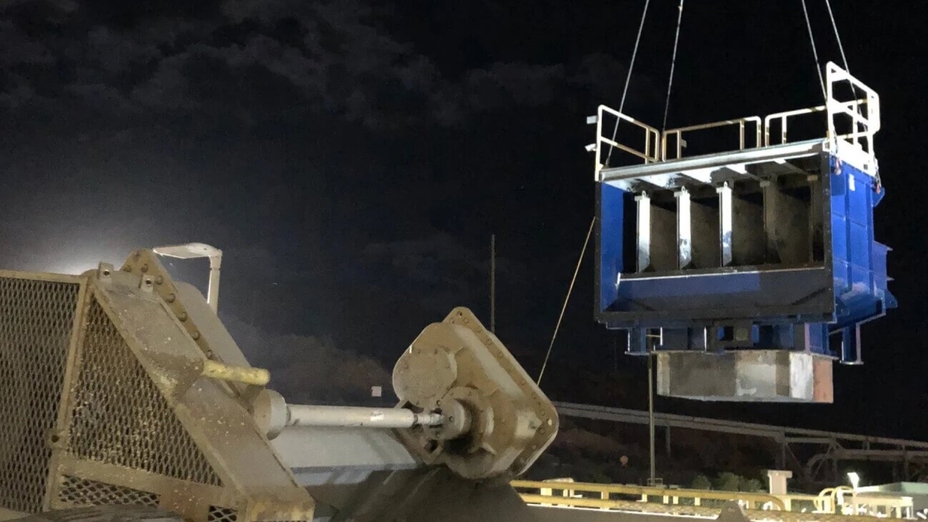
Titan Engineered Solutions services equipment like mine safety platforms at remote sites. Image courtesy of Titan Engineered Solutions
As is the case with any manufacturing operation, mining relies on an array of heavy machinery and robust equipment to operate. But keeping plants and excavation sites operating at peak efficiency is easier said than done.
With mines tending to be located in more remote areas, engineers often spend hours journeying to facilities to take manual measurements. This approach carries significant risk, as manual measurements are more likely to result in human errors, incomplete data capture, and a need for multiple trips to confirm dimensions. Yet for many, this is their best practice.
Many mines also rely on obsolete components to keep their operations running at optimal levels. Replacing existing equipment prior to failure can result in disruptive downtime to allow for disassembly and manual measurements. On the other hand, allowing components to fail prior to replacement drastically increases downtime and reduces a mine’s profitability.
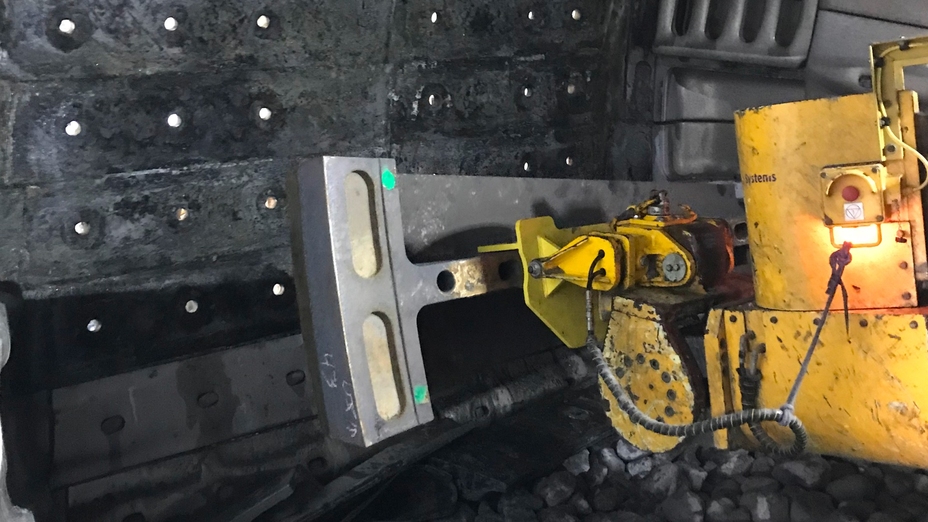
Mines are often equipped with machinery that needs repairing with obsolete parts. Image courtesy of Titan Engineered Solutions
This is where Titan Engineered Solutions is an industry leader. They are now able to offer innovative engineering solutions that are proactive, responsive, and result in reduced downtime and higher efficiencies for clients.
In the past, Titan would address client requests by sending a team of engineers out to site. But it has since worked closely with Artec Ambassador Rapid Scan 3D to overhaul its workflow. No longer reliant on manual measurements, Titan can dispatch a single engineer with Artec Leo and Artec Ray to accurately capture almost any geometry they encounter in the field.
“Even if the product doesn’t yet exist, we can use the dimensions gained from a 3D scan to customize the piece and have it fit within a 16th of an inch (1.6mm) accuracy,” explained Titan’s General Manager Brandon Koch. “For example, we do a lot of custom one-off pipes that meet end-to-end. Now we can ensure they fit without multiple tedious manual measurements.”

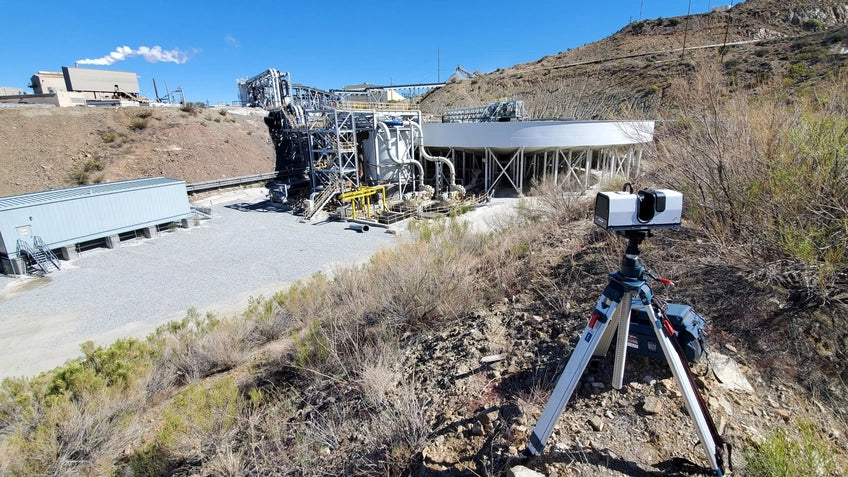
Artec Ray on-site, ready to capture facility-wide 3D scans. Image courtesy of Titan Engineered Solutions
Mine measuring for a first-time fit
Titan’s 3D scanning journey began with a week-long training course courtesy of Rapid Scan 3D in North Carolina. Since then, they’ve learned to master the agile, wireless Leo, finding it easy to deploy at mining sites across the Southwestern United States. In particular, Koch praises the device’s integrated format and click-to-scan functionality, saying “you can’t really screw it up.”
“You just turn it on, point, and shoot. It's very user-friendly and easy to use,” added Koch. “You see what you’re scanning on-screen, so you can ensure that you have good data. Afterwards, you can always think ‘did I scan this area?’ If that data might be critical, then you just re-scan.”
Given the sheer size of most mining installations, Titan realized that they also needed a longer-range data capture solution. Having initially seen Ray in-action at a client site, they invested in their own – and the results have been impressive, with large facilities becoming rapidly measurable with a high degree of accuracy.
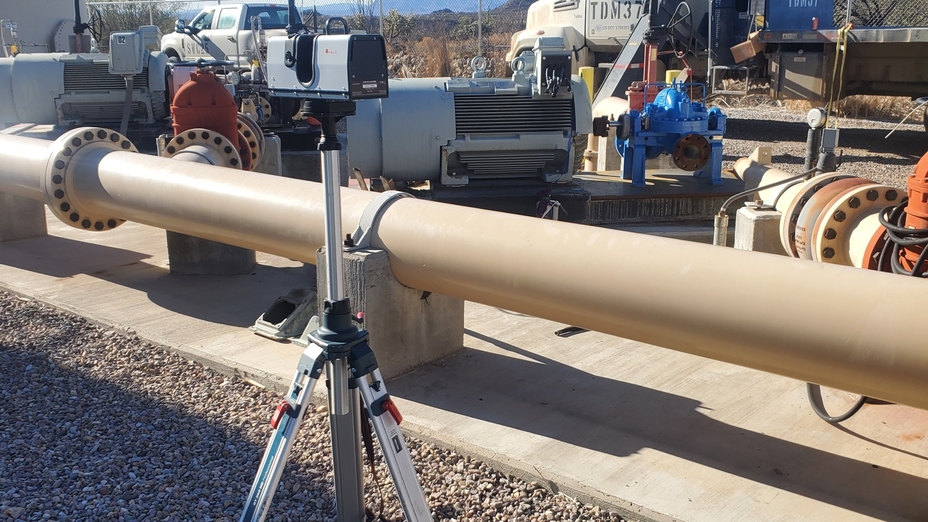
Artec Ray on an extended tripod, capturing a large piece of piping for analysis. Image courtesy of Titan Engineered Solutions
Recently, capturing a customer’s copper plant floor for a refit took just 1 hour with Ray, when it previously would’ve taken 3-6 hours. What’s more, Titan engineer Johnathan Turner says this approach allowed them to pick up details that rough hand measurements would’ve missed, and ensure seamless installation where it could’ve been problematic.
“We were able to recreate the whole floor based on that scan,” said Turner. “With hand measurement, you get rough ‘that should fit’ dimensions, compared to 3D scanning that tells you ‘this will fit.’ With the scan, we could place the new floor perfectly.”
Checking tolerances with Design X
Titan’s 3D scanning efforts have also seen it move into reverse engineering, customizing parts, and ensuring they meet tolerances via deviation analysis.
After using Leo or Ray to capture desired scans its team begin processing inside Artec Studio. Once they’ve deleted unneeded data, fusing multiple datasets is said to be a piece of cake, and the resulting model is ready for immediate export to Geomagic Design X.
In Design X, it’s then possible to create ‘regions’ of critical part areas. For example, when designing custom piping, they focus on ensuring the ends of each pipe will fit into existing networks. To achieve this, they sketch these geometries, turning them into scan-based CAD bodies, and figure out the constraints (or restrictions that influenced their design).
From there, piping is exported to SOLIDWORKS, where these constraints are used to design complete models. Following alignment, pipe models (or any other reverse engineered products) can be returned to Design X, where the program’s heat mapping feature makes it easy to overlay CAD data, find deviations, and ensure parts meet installation tolerances.
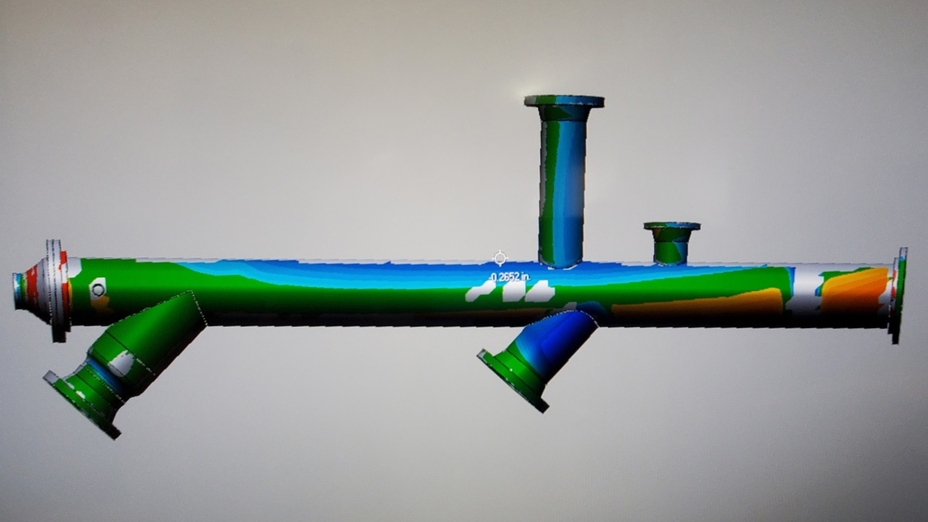
A complex pipe section being heat-mapped on Geomagic Design X. Image courtesy of Titan Engineered Solutions
According to Turner, this three-stage workflow not only streamlines and accelerates production, but allows Titan to be much more confident that fabricated parts will fit upon arrival.
“With pipes, the ends are going to tell me how long the pipe distance is, what diameter it needs to be, and how it’s going to connect,” explained Turner. “With our seamless three-step process, I can find out where all the holes need to be, so pipes can be bolted together. We simply capture the original design, figure out the constraints, and model with them.”
Multi-resolution modeling on the horizon?
With many of its shipments large enough to require a flatbed truck, Koch is keen to highlight how important accurate product fitting is to reducing the likelihood of installation problems. With projects like the aforementioned copper plant floor, he says mistakes would mean scrapping it entirely, and “if you keep going down that rabbit hole, the expenses escalate rapidly.”
That’s why the company continues to experiment with 3D scanning in new areas. With Artec Studio, for example, it’s now possible to merge scans captured with entirely different devices into a single mesh, using the highest-resolution data from each.
“Initially, we got Leo & Ray due to their individual value propositions. But multi-resolution 3D scanning is definitely something we are looking into,” concluded Koch. “There are many projects where combining scans would be useful. With an overall area scan (with Ray) and another more detailed one (with Leo) – we could capture obscured features that just aren’t visible (to Ray alone).”
Scanners behind the story
Original Article https://www.artec3d.com/cases/titan-engineered-solutions


